Hi guys I am back with another fantastic project in this project I created a Profile Card Using HTML and CSS
I also share a complete source code with my readers and followers it is free of cost, not any subscription to get the source code of this project. You can download these code files and use them for free.
Profile Card
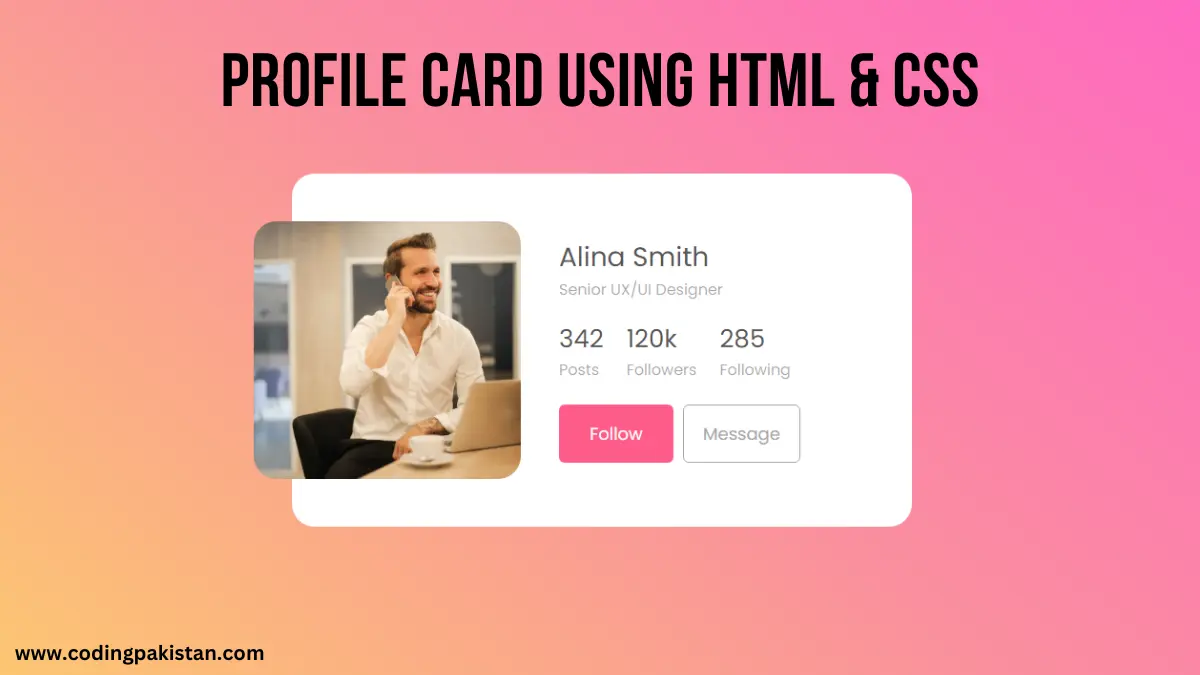
Profile card is a design of card that provides all information about that person.
In this profile card design, I add one image on the side and a Name and profession after that, I add Instagram statics like the number of posts, followers, and following. In the last, I added two buttons: one for follow and the other for sending a message request.
It is very simple to create this type of profile card Using HTML and CSS.
The best part of this profile card is responsive which means it is optimized for all types of devices like Laptop, Mobile and Tablets Screen.

About This Project
This project was created by the codingpakistan team to help students learn coding and programming in a simple way. If you want to join our team please follow us on Instagram.
| Created by | Coding Pakistan |
| Languages | HTML and CSS |
| Source Code | Available Below |
| Preview | Take Preview |
How to Create a Profile Card
There are some steps to create this type of Profile Card using HTML, and CSS, which are given below.
- The first step is to create one folder.
- Open this folder in Vs Code Editor and create two files in HTML and CSS,
- Make sure the HTML file extension is (.html) and the CSS file extension is (.css).
- After creating files, you link a CSS file with an HTML file with the help of this line code. (<link rel=”stylesheet” href=”style.css”>)
- The last step is copying and pasting the given code into your files.
NOTE: I use one image as a user profile you can replace this image with your original image.
Profile Card – Source Code
HTML FILE
<!DOCTYPE html>
<html lang="en">
  <head>
    <!-- Created by www.codingpakistan.com -->
    <meta charset="UTF-8" />
    <meta http-equiv="X-UA-Compatible" content="IE=edge" />
    <meta name="viewport" content="width=device-width, initial-scale=1.0" />
    <title>Card 1 - Coding pakistan</title>
    <link rel="stylesheet" href="style.css" />
    <link rel="preconnect" href="https://fonts.googleapis.com" />
    <link rel="preconnect" href="https://fonts.gstatic.com" crossorigin />
    <link
      href="https://fonts.googleapis.com/css2?family=Poppins:wght@300;400;500&display=swap"
      rel="stylesheet"
    />
  </head>
  <body>
    <div class="card">
      <img src="https://images.pexels.com/photos/3760263/pexels-photo-3760263.jpeg?auto=compress&cs=tinysrgb&w=1260&h=750&dpr=1" />
      <div>
        <h2>Alina Smith</h2>
        <h3>Senior UX/UI Designer</h3>
        <ul class="stats">
          <li>
            <var>342</var>
            <label>Posts</label>
          </li>
          <li>
            <var>120k</var>
            <label>Followers</label>
          </li>
          <li>
            <var>285</var>
            <label>Following</label>
          </li>
        </ul>
        <nav class="buttons">
          <button class="primary">Follow</button>
          <button>Message</button>
        </nav>
      </div>
    </div>
  </body>
</html>
CSS FILE
body,
html {
  height: 100%;
}

* {
  box-sizing: border-box;
}

body {
  display: flex;
  align-items: center;
  justify-content: center;
  margin: 0;
  background: linear-gradient(-140deg, #ff65c5, #fa909d, #fcce6c);
  color: #575556;
  font-family: "Euclid Circular A", "Poppins";
}

.card {
  display: flex;
  align-items: center;
  width: 75vw;
  max-width: 650px;
  padding: 50px 30px 50px 20px;
  background: #ffffff;
  border-radius: 24px;
}

.card img {
  max-width: 280px;
  width: 32vw;
  height: 270px;
  object-fit: cover;
  margin-left: -60px;
  margin-right: 40px;
  border-radius: inherit;
}

.card h2 {
  font-size: 28px;
  font-weight: 400;
  margin: 0;
}

.card h3 {
  font-size: 16px;
  font-weight: 400;
  opacity: 0.5;
  margin: 0 0 20px;
}

.card p {
  font-size: 14px;
  font-weight: 400;
  color: rgb(0 0 0 / 70%);
  margin-bottom: 24px;
}

.card .buttons {
  display: inline-flex;
  gap: 10px;
}

.card button {
  border: 1px solid #a7a7a7;
  background: transparent;
  color: #a7a7a7;
  font-family: inherit;
  padding: 16px 20px;
  font-size: 18px;
  border-radius: 6px;
  min-width: 120px;
}

.card button.primary {
  background: #fe5c89;
  color: #f9f9f9;
  border: 0;
}

@media (width <= 720px) {
  .card {
    margin: 0 40px;
    padding-left: 50px;
    padding-right: 50px;
    width: 100%;
    text-align: center;
    flex-direction: column;
  }

  .card h2 {
    font-size: 30px;
  }

  .card img {
    margin: -100px 0 30px 0;
    width: 100%;
    max-width: 1000px;
  }

  .card .stats var {
    min-width: 90px;
  }

  .card button {
    min-width: 160px;
  }
}

.card .stats {
  display: flex;
  gap: 24px;
  list-style: none;
  margin: 0 0 24px;
  padding: 0;
}

.card .stats var {
  display: block;
  font-style: normal;
  font-size: 26px;
}

.card .stats label {
  opacity: 0.5;
}
