Hi guys I am back with another fantastic project in this project I created a Toastify Effect Using HTML, CSS & JavaScript.
I also share a complete source code with my readers and followers it is free of cost, not any subscription to get the source code of this project. You can download these code files and use them for free.
Table of Content
- Toastify Effect
- About this Project
- How to create Toastify Effect
- Video
- HTML file (source code)
- CSS file (source code)
- JavaScript file (source code)
- Related Content
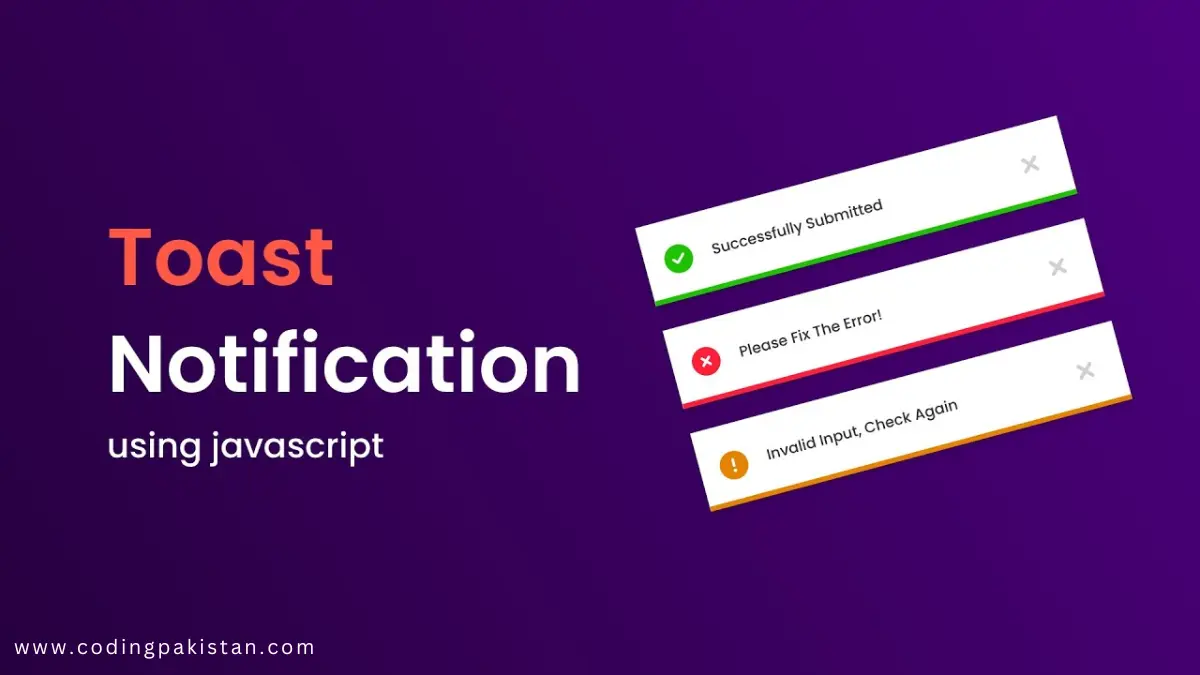
Toastify Effect
The Toastify Effect is a transition that can be used to animate the appearance and disappearance of toast notifications in React applications. It is part of the Toastify library, a lightweight JavaScript library that makes adding toast notifications to your React applications easy.
The Toastify Effect has four built-in transitions:
- Bounce
- Slide
- Zoom
- Flip
You can also use your own custom transition by providing a CSS animation name or a JS function.
To use the Toastify Effect, you must install the Toastify library and import it into your React application. You can then use the toastify function to create toast notifications and specify the transition prop to use the Toastify Effect.
This Toastify effect is created by only HTML, CSS, and JavaScript
About This Project
This project was created by the codingpakistan team to help students learn coding and programming in a simple way. If you want to join our team please follow us on Instagram.
| Created by | Coding Pakistan |
| Languages | HTML / CSS / JS |
| Source Code | Available Below |
| Preview | Take Preview |
How to Create a Toastify Effect
There are some steps to create this type of Toastify Effect HTML, CSS, and JavaScript that are given below.
- The first step is to create one folder.
- Open this folder in Vs Code Editor and create three files in HTML, CSS, and JavaScript.
- Make sure the HTML file extension is (.html), the CSS file extension is (.css) and the JavaScript file extension is (.js)
- After creating files, you link a CSS file with an HTML file with the help of this line code. (<link rel=”stylesheet” href=”style.css”>)
- The last step is copying and pasting the given code into your files.
Video
Toastify Effect Using HTML, CSS, and JS – Source Code
HTML FILE
<!DOCTYPE html>
<html lang="en">
  <head>
    <meta charset="UTF-8" />
    <meta http-equiv="X-UA-Compatible" content="IE=edge" />
    <meta name="viewport" content="width=device-width, initial-scale=1.0" />
    <title>Toastify</title>
    <link
      rel="stylesheet"
      href="https://fonts.googleapis.com/css2?family=Material+Symbols+Outlined:opsz,wght,FILL,GRAD@48,400,0,0"
    />
    <link rel="preconnect" href="https://fonts.googleapis.com" />
    <link rel="preconnect" href="https://fonts.gstatic.com" crossorigin />
    <link
      href="https://fonts.googleapis.com/css2?family=Poppins:wght@400;500;600&display=swap"
      rel="stylesheet"
    />
    <link
      rel="stylesheet"
      type="text/css"
      href="https://cdn.jsdelivr.net/npm/toastify-js/src/toastify.min.css"
    />
    <link rel="stylesheet" href="style.css" />
  </head>
  <body>
    <button class="rerun-button" onclick="rerun()">
      <span>Rerun</span>
    </button>
    <div class="card">
      <h2>Products</h2>
      <div class="table" id="table"></div>
    </div>
    <script
      type="text/javascript"
      src="https://cdn.jsdelivr.net/npm/toastify-js"
    ></script>
    <script src="script.js"></script>
  </body>
</html>
CSS FILE
body {
    margin: 0;
    display: grid;
    place-items: center;
    background: #f2f2ff;
    color: #4c4654;
    font-family: "Euclid Circular A", "Poppins";
  }

  * {
    box-sizing: border-box;
  }

  html,
  body {
    height: 100%;
  }

  .card {
    width: 500px;
    padding: 20px;
    border-radius: 10px;
    background: #ffffff;
    box-shadow: 0 20px 40px rgb(0 0 0 / 4%);
    transition: 0.3s;
  }

  header {
    display: flex;
    align-items: center;
    justify-content: space-between;
  }

  button {
    display: flex;
    align-items: center;
    justify-content: center;
    gap: 10px;
    border: 0;
    background: #8f44fd;
    color: #f7f7f7;
    height: 36px;
    border-radius: 4px;
    padding: 0 12px;
    font-family: inherit;
    font-size: 16px;
    cursor: pointer;
  }

  .table {
    overflow: hidden;
    display: grid;
    transition: 0.3s;
  }

  .table.empty {
    max-height: 0;
    padding: 0;
  }

  .row {
    overflow: hidden;
    display: grid;
    grid-template-columns: 1fr 40px;
    align-content: center;
    max-height: 54px;
    padding: 8px 0;
    transition: 0.3s;
  }

  .row.removed {
    max-height: 0;
    opacity: 0;
    padding: 0;
    visibility: hidden;
  }

  .row p {
    margin: auto 0;
    color: rgb(76 70 84 / 75%);
  }

  .rerun-button {
    position: fixed;
    top: 20px;
    left: 50%;
    translate: -50% 0;
    width: 100px;
    text-align: center;
  }

  .row button {
    display: grid;
    place-items: center;
    border: 0;
    width: 40px;
    height: 40px;
    padding: 0;
    border-radius: 6px;
    background: transparent;
    color: #222222;
    cursor: pointer;
    transition: 0.3s;
  }

  .row button:hover {
    background: #f8f8f8;
  }

  body .toastify {
    padding: 20px 50px;
    margin-bottom: 30px;
    font-size: 18px;
    background: #ff5362;
    box-shadow: 0 20px 40px rgb(0 0 0 / 4%);
    border-radius: 10px;
  }
JavaScript FILE
const rows = ["Adidas Superstar", "Nike Air Force", "Reebok Classic"];

const table = document.querySelector("#table");

let rowCount = rows.length;

const rerun = () => {
  table.classList.remove("empty");
  buildRows();
};

const removeRow = (index) => {
  const row = document.querySelector(`#row-${index}`);
  row.classList.add("removed");
  rowCount -= 1;

  if (rowCount === 0) {
    table.classList.add("empty");
  }

  Toastify({
    text: "Product Deleted",
    duration: 1500,
    gravity: "bottom",
    position: "center",
    stopOnFocus: true,
  }).showToast();
};

const buildRows = () => {
  let content = ``;

  rows.forEach((row, index) => {
    content += `
      <div class="row" id="row-${index}">
        <p>${row}</p>
        <button onclick="removeRow(${index})">
            <span class="material-symbols-outlined"> close </span>
        </button>
      </div>`;
  });

  console.log("content", content);

  table.innerHTML = content;
};

window.addEventListener("load", () => buildRows());
